Restore universe YCQL data
On that same completed task, click on the Actions dropdown and click Restore Backup. You will see a modal where you can select the universe, keyspace, and table you want to restore to. Enter in values like this (making sure to change the table name you restore to) and click OK.
To restore YugabyteDB universe YCQL data from a backup:
-
Open the Universe Overview and then click the Backups tab. The Backups page appears.
-
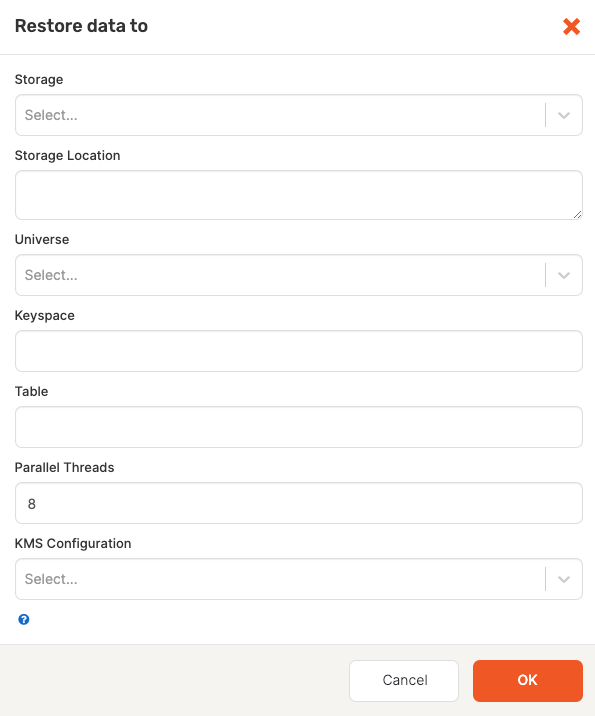
Click Restore Backup to open the Restore data to dialog.
-
Enter the following information:
- Storage Select the storage configuration type: `GCS Storage', 'S3 Storage', or 'NFS Storage'.
- Storage Location: Specify the storage location.
- Universe: Select the YCQL universe to restore.
- Keyspace: Specify the keyspace.
- Table: Specify the table to be restored. Note: The table name must be different than the backed up table name.
- Parallel Threads: Default is
8. This value can be change to a value between1and100. - KMS Configuration: (optional) If you are restoring data from a universe that has, or previously had, encryption at rest enabled, then you must select the KMS configuration to use so that the universe keys referenced in the metadata file can be retrieved. If the universe was previously encrypted at rest, but is not currently, then the retrieved keys assure that any existing files can be decrypted. The retrieved keys are used to build and augment the key registry on the restore universe with the required universe keys. The universe data files are restored as normal afterwards.
-
Click OK. The restore begins immediately. When the restore is completed, a completed Restore Backup task will appear in the Tasks tab.
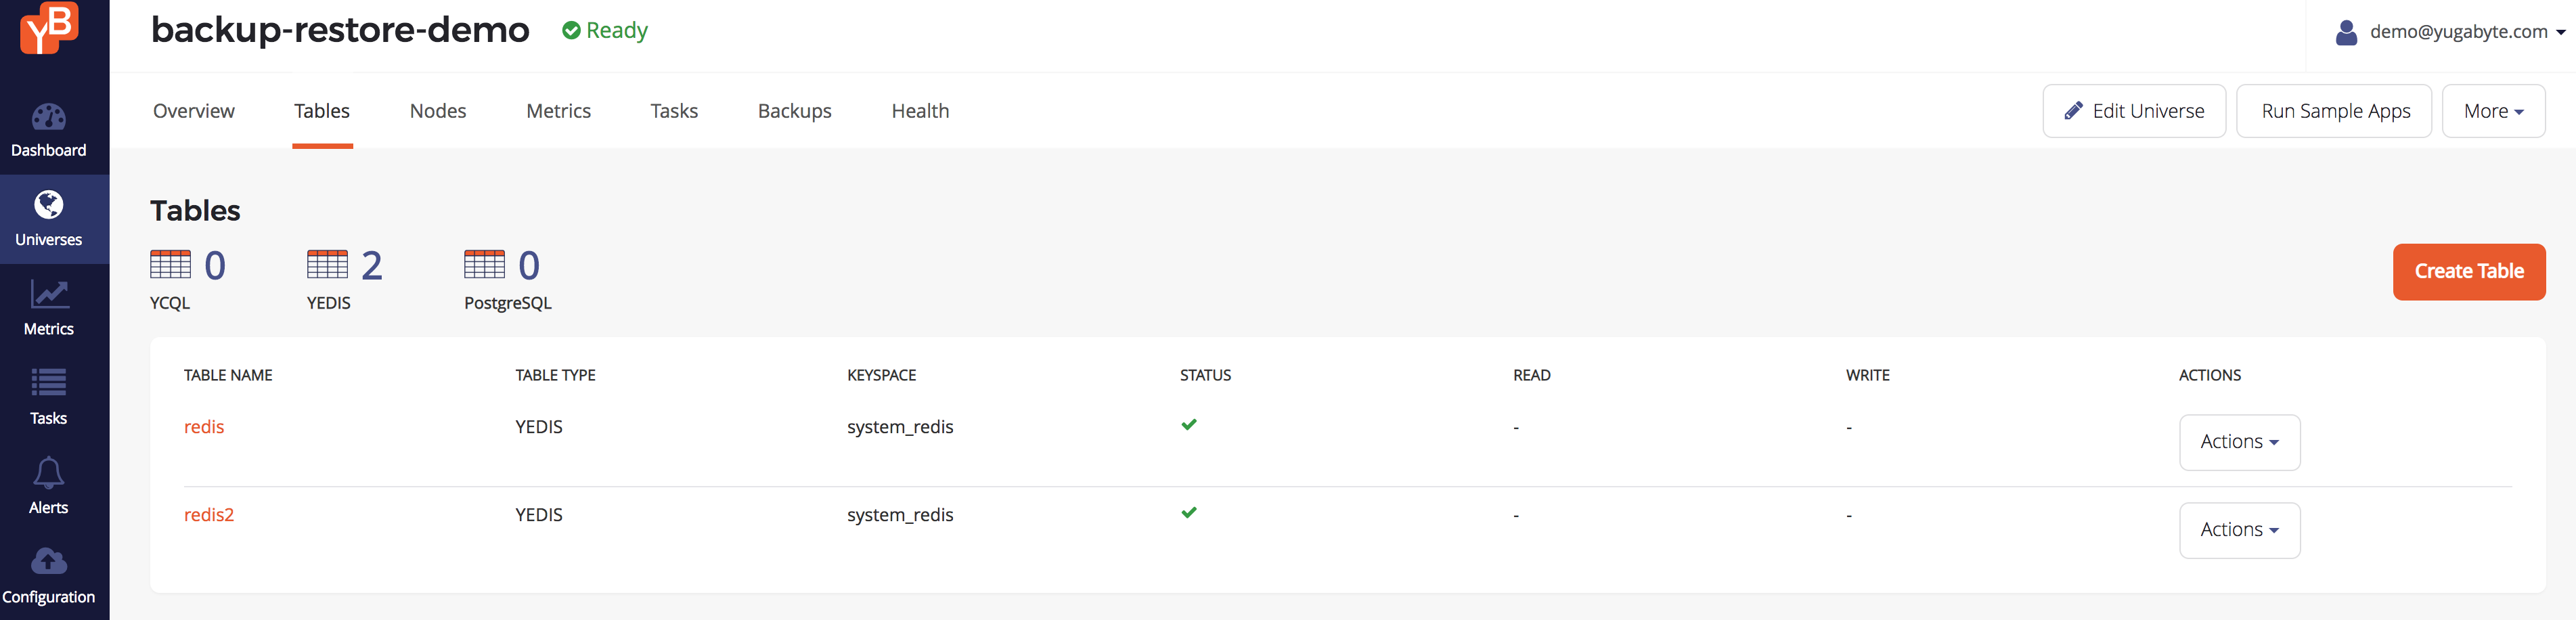
-
To confirm the restore succeeded, go to the Tables tab to compare the original table with the table you restored to.